
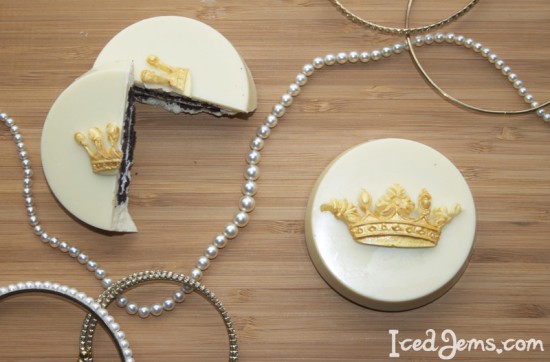
Chocolate Covered Oreos are an amazing and simple treat you can whip up for parties, weddings and even gifts! The possibilities are endless, whether you use candy melts and get a range of colours or use mould to achieve pretty edible topping like these crowns!
This tutorial shows you how to make basic chocolate covered Oreos and how to make embellishments to top them! I can’t wait to see all the designs you come up with 🙂
[fancy_header]You will need (makes 6 Chocolate Covered Oreo’s)[/fancy_header]
- 6 Regular Oreo’s ( I recently found out these are Dairy Free, so you can make these with Dairy Free Chocolate for a free-from option!)
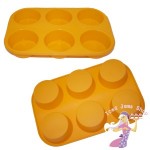
- 1 x Chocolate Covered Oreo Mould (available from my shop, just £4.99)
- 350g White Chocolate
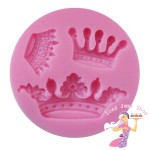
- 1 x Crowns Mould (available from my shop, just £3.99)
- 1 x Gold Click Twist Brush (available from my shop, just £3.25)
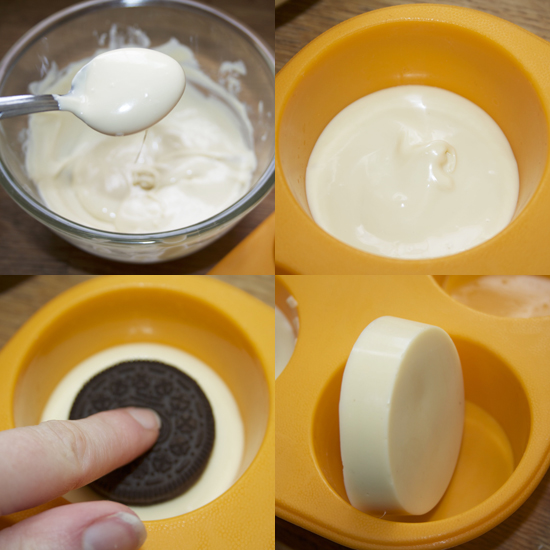
Start by melting your chocolate, you can do this in the microwave on a defrost setting, or in a glass bowl over a saucepan of boiling water. Just be careful you don’t burn the chocolate if you microwave it!
Once melted, spoon approx 2 Tbsp of the melted chocolate into one of the cavities of the Oreo Mould and spread to the endues using a spoon.
Gently push an Oreo into the melted chocolate, then completely cover with melted chocolate and tap the mould lightly on a flat surface to even the surface. Repeat until all 6 Oreo’s are made, then transfer to the fridge to set.
![]()
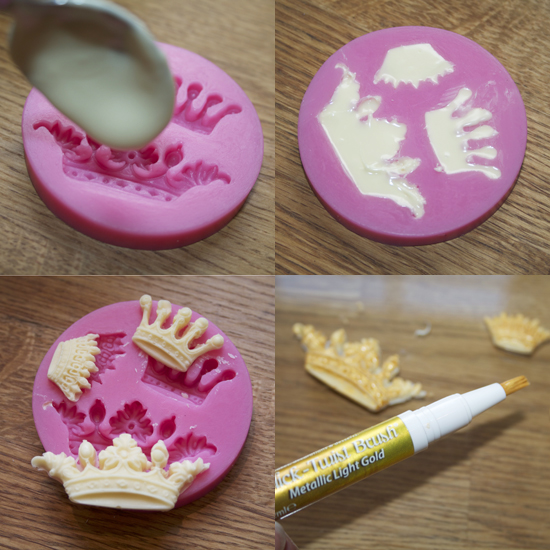
You should have enough leftover chocolate to make the crowns, as they are only small and delicate. Simply pour small amounts of the melted chocolate into the mould and spread to the edges using a cocktail stick. Transfer to the fridge to set, then to release simply stretch the edges of the mould away from the chocolate to release it.
To make your crowns a beautiful Gold Colour, you can use the fantastic Click Twist Pens available in the shop. Simply twist the bottom of the pens a few time and you will see the gold edible paint start to appear, then brush over the chocolate crowns until them are complete coated.

To finish, simply attach the crowns to the top of the Oreos with a tiny bit of melted chocolate and serve up at your party!
Enjoy,
Jem x
HIya, Lovely tutorial! Do you use real chocolate or candy melts. If using real chocolate does it need to be tempered?
Thanks
Hiya, first time trying these babies out, how can i to colour the white chocolate. I have a mint and gold theme birthday coming up and would love to try these out.x
Hi Lenze, chocolate can be very tricky to colour and it’s much better to buy ready colour candy buttons or use powdered food colours. Alternatively, you could leave them white and paint them afterwards, I painted the crowns gold with Click Twist Pens! 🙂 x
Awesome…thanks for tips iced jems..totally luv ya page