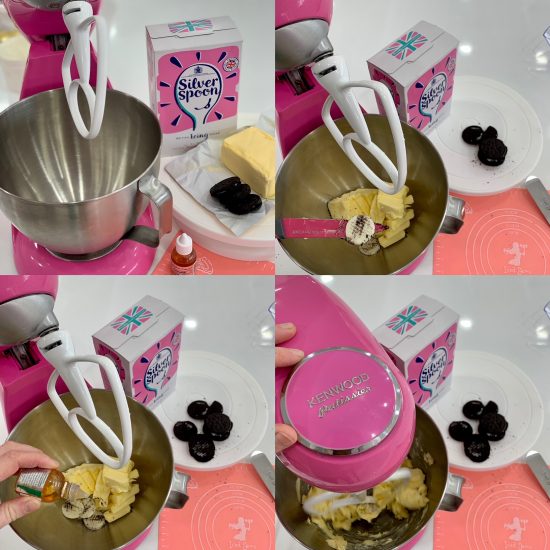
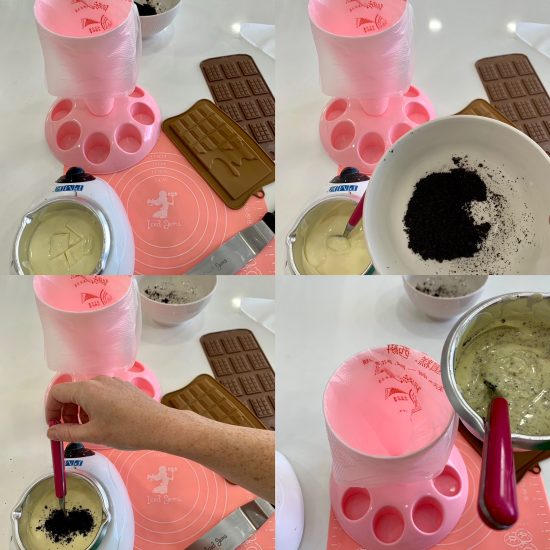
Start by making some delicious Oreo Frosting! Beat your Unsalted Butter until creamy, then add in the Vanilla Flavouring and the centres of 10 Oreos. Mix until well combined.
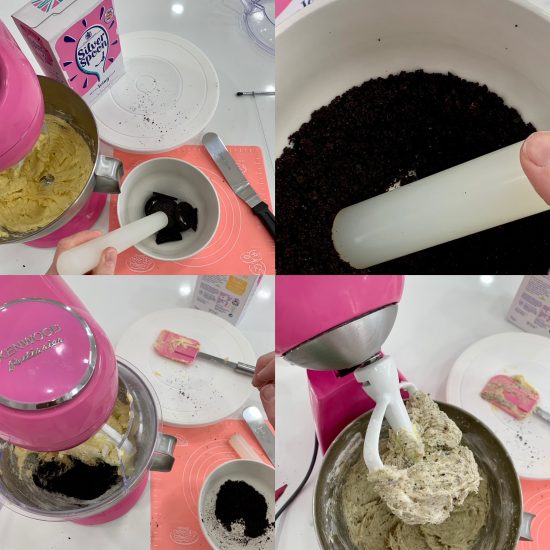
Take the biscuit parts of the Oreos and bash them into fine crumbs using the end of a rolling pin (or a food processor if you have one). Add into your buttercream and mix until you have a speckled buttercream.
TOP TIP: Make sure your Oreo Crumbs are very finely crushed with no lumps. As any lumps may get caught in your piping nozzle when adding the buttercream swirls later.
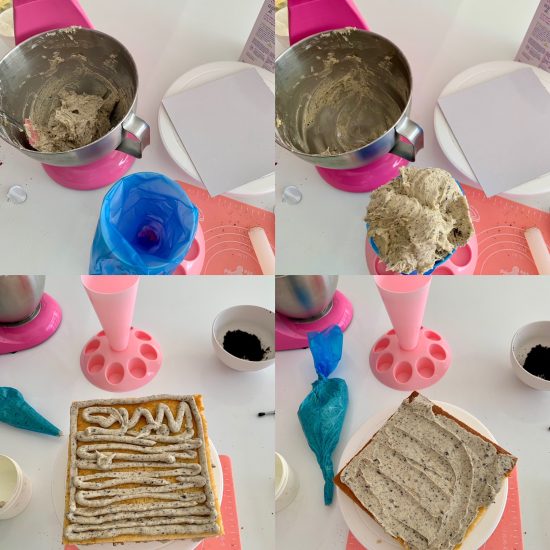
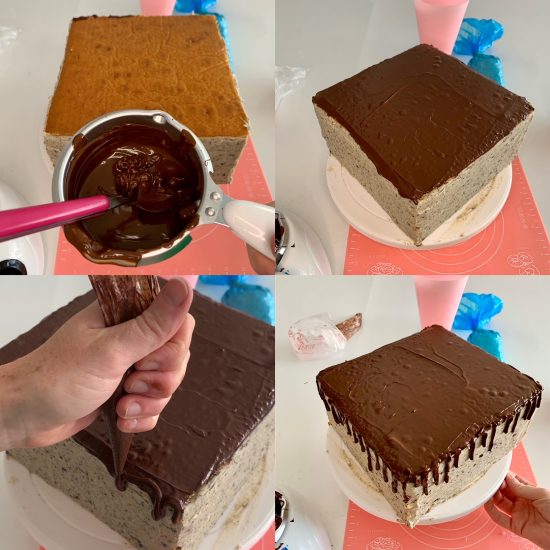
Pour the buttercream into a large disposable piping bag and snip off the end (about a 1.5cm opening). Pipe the buttercream over your sponge cake first layer, then spread with a palette knife until smooth and even. Repeat until all layers are stacked.
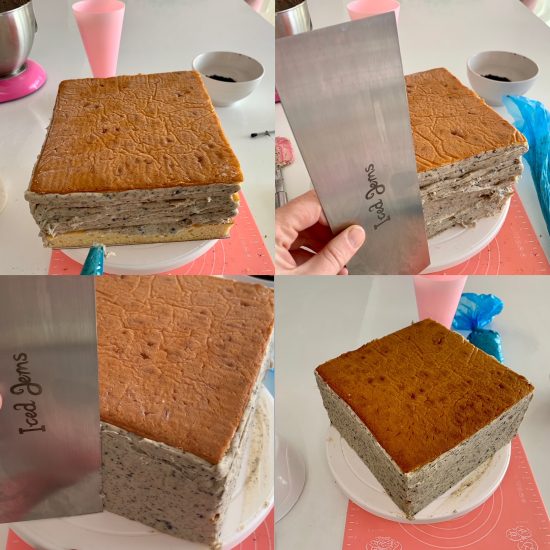
Pipe the buttercream around the other edges of your cake, then smooth over using an Iced Jems Tall Metal Scraper. Pop into the fridge to firm up and set.
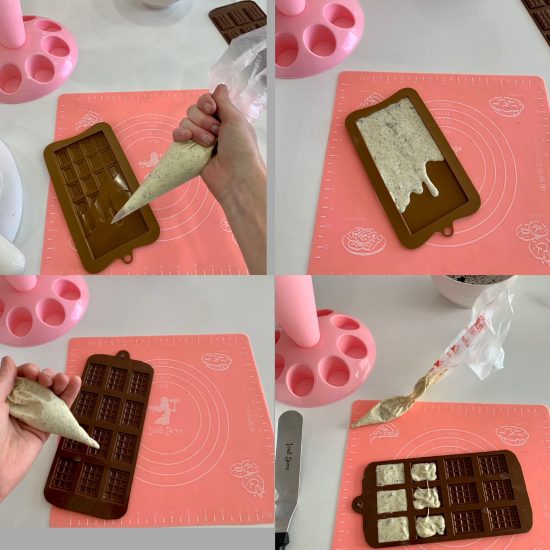
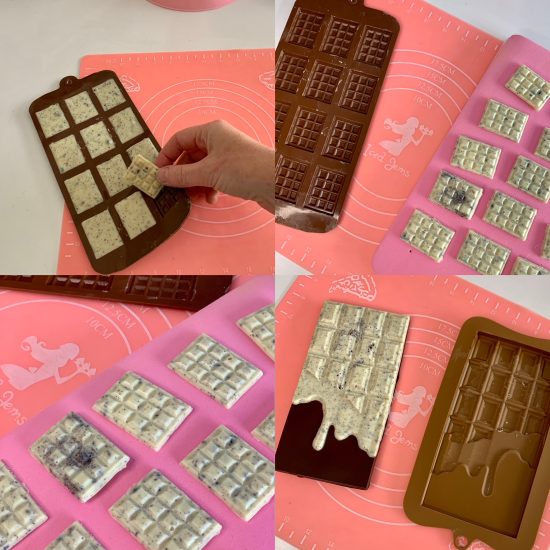
While your cake is setting, you can make your chocolate decorations! Melt the white chocolate, then add in the crumbs from a few Oreos to give it the speckled effect! Pour into a piping bag once mixed.
Snip a small opening off the piping bag, then pipe into your large and small chocolate bar moulds. Using a scribe needle tool to spread to chocolate right to the edges, and lift and tap your moulds a few times to ensure the air bubbles all escape. For the large chocolate bar mould, don’t fill it all, just fill the top half of the cavity with the drip.
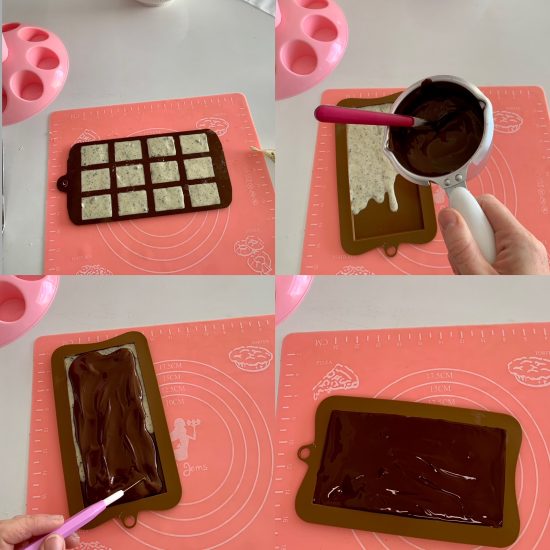
Set the white chocolate in the fridge for a few minutes and melt your dark chocolate. Add the dark chocolate to the back and bottom of the large chocolate bar mould, then return to the fridge to full set.
Use the rest of the dark chocolate for your drip and cake topping. Remove the cake from the fridge, pop onto your turntable and pour chocolate over the top of the cake, using a cranked palette knife to spread it up to the edges. Pour the rest of the chocolate into a piping bag, snip off the end, then pipe drips around the edge of the cake.
Once the chocolate bar decorations are set, remove from the fridge and peel the moulds away to reveal them! They’re so cute!
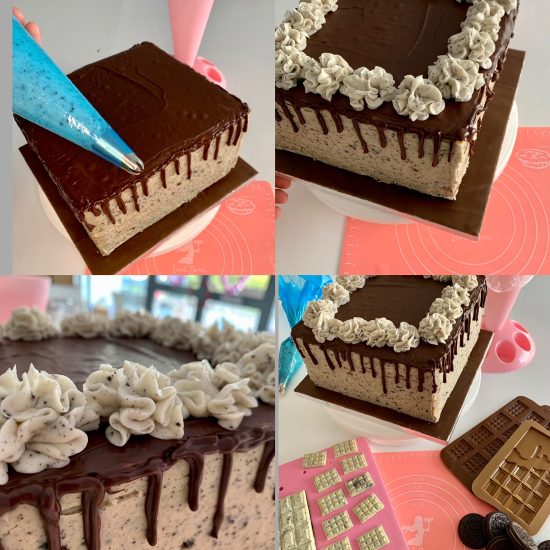
Roll out your brown fondant icing and cover your cake drum with it, then place your cake on top of the drum. Add the remaining buttercream into a disposable piping bag fitted with a 2D Closed Star Nozzle, then pipe buttercream swirls around the edge of the cake.
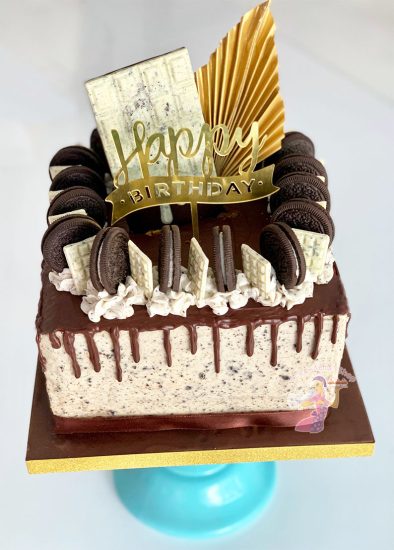
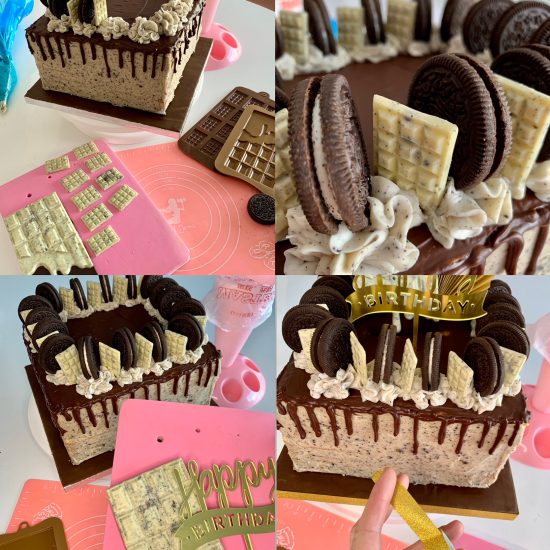
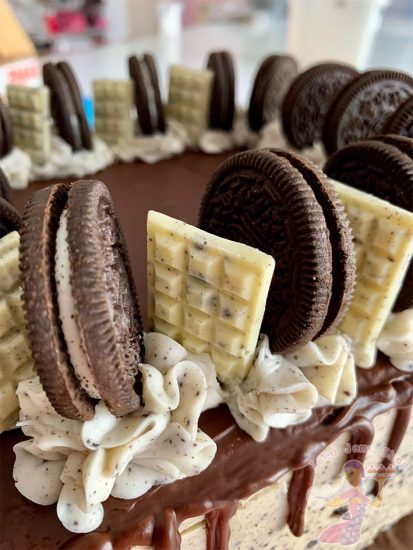
Add an Oreo to each Buttercream Swirl, then a mini chocolate bar decoration in between the swirls. Insert the Happy Birthday Topper, Paper Fan and Large Chocolate Bar into the top of the cake. Finish it off by adding some washi tape to your cake drum and brown ribbon around the bottom of the cake.
And there you have it! A super simple cake to make, that tastes delicious and is a real crowd pleaser!
I hope you enjoyed this tutorial, please be sure to check out the online shop www.icedjemsshop.com for any tools / equipment / boxes / boards / sprinkles / moulds and more! We are a little independent business based in the West Midlands and your support allows us to keep creating these free tutorials and resources!