Here’s another fun box full of new goodies for May! This box has a real summer feel to it and contains the following:
- A Plant Pot Conture Comb
- A set of 4 Fantasy Flower Cutters
- A Garden Flowers Sprinkle Mix
- Flower Glitter Toppers
- A small petal nozzle
- A small open star nozzle
- A small leaf nozzle
- 3 Tipless piping bags
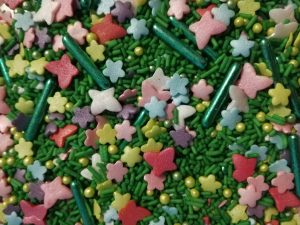
First up is our Garden Flowers sprinkle mix! They’re used in the mini tutorial below.
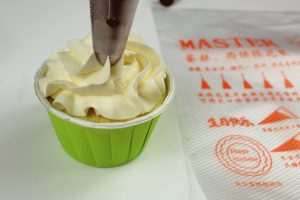


If you are looking for a super quick and easy bake, you can simply decorate your cupcakes with a swirl of icing (the ones in the picture above are using our 2D Closed Star Nozzle) and top with the gorgeous sprinkle mix in the box and a glitter cupcake topper.
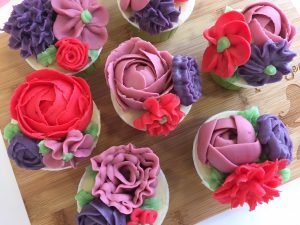
We’ve included 3 new nozzles in our box: small petal, small leaf and small open star – all of which can be used to create these beautiful flowers. If you want to watch a video of us making make, we’ve got the video right here!

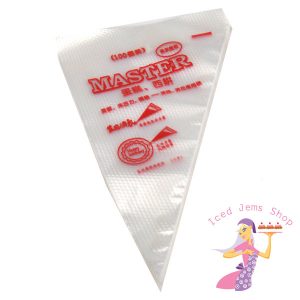
These disposable “tipless” piping bags are a firm favourite here at the shop! The lack of seam at the edges means you can simply snip off the end of the bag and pipe your Royal Icing without the seam flattening out the flow of icing like on regular piping bags.
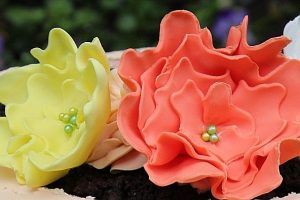
Next up is the new fantasy flower cutter set which includes 4 different sized cutters. The great thing about these flowers is that no two will look the same! 🙂
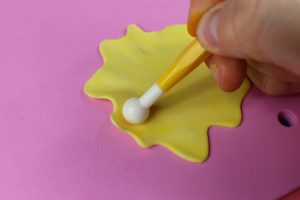

Roll out your florist paste onto our non-stick silicone mat (you know it’s the right thickeness when the florist paste is see-through). Press the largest cutter onto the paste, and use your rolling pin to get a clean cut.
Move this onto the foam pad mat and use the ball tool to thin and shape the outer edges of the flower.
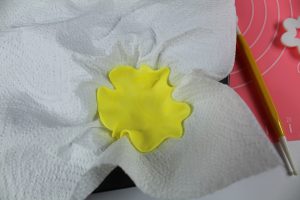
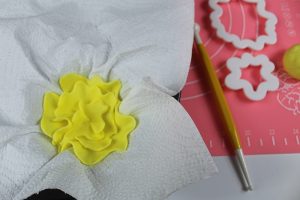
Place the flower into a lined cupcake tin and allow it to set. Repeat this for the other 3 sized cutters until you have a full-looking flower, and then a little glue to the centre of the flower and embelish with a few of the pearls from the Garden Flowers sprinkles mix.
You can either dust with some lustre to add texture of leave as they are. The full set is a great size for putting on top of large cakes. If you want to make them for cupcakes, just use the 2 smaller cutters.
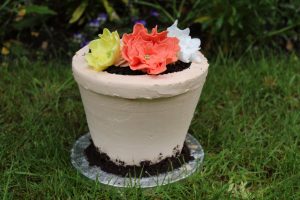
Probably the most exciting part of this month’s box is the plant pot conture comb. It can also be used to create sand buckets for beach-themed cakes! Below is a mini tutorial for using this comb.
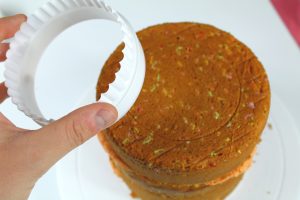


Stack your cake layers and chill in the fridge for 20 minutes to firm up. Use a circle cutter to mark out where you need to start carving, and then use a serrated knife to carefully cut off the cake.
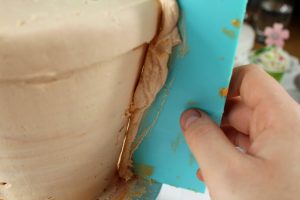
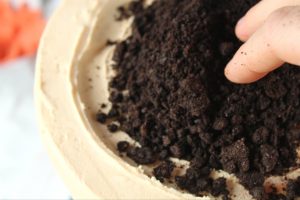
Apply a thick layer of buttercream and then use your comb to slowly scrape off the excess. If there are any gaps, fill them in and go around again with the comb. Once you’re happy with the sides, fill in the top middle with some crushed up biscuits (we used oreos for this cake!). Secure the flowers on to the top of your cake with a bit of buttercream 🙂
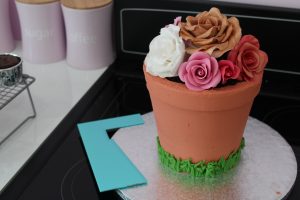
To create the terracotta colour, use a mix of sugarflair spice red and orange!
We hope you enjoy the goodies in this month’s box and get creative! As always, share your creations with us and use #IcedJemsCakeClub on social media so we can see!
Jem x